· tutorials · 7 min read
HTML5 Canvas on Rails? Part 2

Series Overview
Vanilla rails doesn’t really give much guidance for how best to interact with an HTML5 canvas. This series represents my suggestion for how to build features in a way that conforms to StimulusJS and Rails conventions. To showcase this approach, I walk through building a proof-of-concept toy app that allows the user to draw annotations on top of an image and persist those annotations.
- The first post lays out the basic approach and why I decided to design the code in this way.
- The second post guides the reader through building out the necessary boilerplate for the app to function.
- The third post guides the reader through building the interactive canvas functionality.
- The final post contains a summary of this approach and the final code for the server-side HTML, Rails controller, and Stimulus controller.
You can head over to the github repo to inspect the full code.
If you’d like to skip the tutorial and view just the final Stimulus controller, Rails controller, and server-side rendered HTML form click here to jump directly to part 4.
Modeling the domain
In the last post, I provided a bit of context as to how and why This first part of the walkthrough starts from a basic template and builds out the core domain that we’ll need in order to prepare to build the interactive canvas feature.
At each stepping point, I will include a link to the corresponding commit in the github repo so you can reference the state of the app at that point in the development process.
Installation
For the sake of this proof-of-concept, we’ll start with a new app. Both because of the convenience and I love all that he does, I’ll be using the jumpstart template written by Chris Oliver. You can follow along by starting a new rails app using the jumpstart template by running the following code snippet on the command line:
rails new MYAPP -d postgresql \\
  -m https://raw.githubusercontent.com/excid3/jumpstart/master/template.rb
After you are able to boot the app and start it on your localhost (follow instructions from the github repo), make sure to add the following Javascript dependency:
yarn add konvaKonva is a JS library that wraps the Canvas API. Working with Canvas directly requires lower-level manipulations of the API. Using one of the wrapper libraries gives you a nicer API to work with, and more importantly, includes some caching optimizations under the hood that improve the performance. Though there are other libraries that wrap the Canvas API, I like Konva, though you’re free to use another should you choose. While this won’t be a primer on Konva, I will walk the readers through some of the code that is Konva specific.
Configuring routes and models
As I mentioned before, the goal of this app is to draw and persist annotations draw on top of an image, which is a necessary step for training some computer vision models. For the sake of this proof of concept, we’ll focus on annotating animals that you might encounter on a safari. We’ll need three models for this: Label (which will represent the category of animal we’re trying to identify), RawImage, and Annotation (what will be used later in order to train the fictitious machine learning model).
Since an image can contain multiple different animals we would like to label, we will model the relationship between these three models as a many-to-many relationship, with the Annotation acting as a join table between Labels and RawImages.
I generated my Label scaffold using the following command on the command line:
bundle exec rails g scaffold Label name:string kind:stringsee project at this point in history
And the RawImage scaffold using the following command on the command line:
bundle exec rails g scaffold RawImage image:attachmentAs a quick aside, make sure that the image processing gem is uncommented in your Gemfile.
# Gemfile
gem "image_processing", "~> 1.2"
Just to make it easier to make sure that the images will show, I also updated the RawImage show.html.erb file to actually display the photo using an image_tag.
# app/views/raw_images/show.html.erb

<dl class="dl-horizontal">
  <dt>Image:</dt>
  <dd><%= image_tag @raw_image.image.variant(resize_to([600,600])), class: "rounded-sm" %></dd>
</dl>
To create the Annotation model that joins our Label and RawImage models, I ran the following.
rails g model Annotation label:references raw_image:references landmarks:jsonbNote that the model also has a landmarks field, which is a set of (x,y) coordinates. This is how we’ll persist the annotations themselves.
One final preparatory step before we’re ready to jump into Javascript-land. Since an annotation is created on a particular label/image combination, I created a namespaced RawImage controller for serving the pages responsible for creating and editting the annotations by adding the following to my config/routes.rb.
# config/routes.rb
namespace :annotation_editor do
  resources :labels do
    resources :raw_images, only: %i[ show create update destroy ]
  end
end
I also created a new controller and views for creating annotations. After all this prep work, we’re now ready to start coding up our interactive behavior!
see project at this point in history
As an aside, I’ve included a
seeds.rbfile and some assets that you can use to populate the database with someRawImages andLabels. You can seed your database by running the following command on the command line:bundle exec rails db:seed
Display an image using the canvas
Now that we’ve got the boilerplate code out of the way, let’s move forward on building out the interactivity. Before we can even start to build out interactivity, though, we need to attach the canvas to the DOM and use it to display the RawImage we’d like to use!
You’ll notice that the boilerplate I’ve provided we don’t even have a <canvas> element that shows up in our form. That’s because the KonvaJS library inserts the <canvas> node into a container when the library is first invoked. So, in order to use Konva, let’s first generate our stimulus controller on the command line:
rails g stimulus annotation-canvas-controllersee project at this point in history
After generating the stimulus controller’s boilerplate code, we have to hook up our stimulus controller using the data-controller HTML attribute.
Additionally, we first need to add the container node to our _form.html.erb.
# app/views/annotation_editor/raw_images/_form.html.erb
- <%= image_tag @raw_image.image.variant(:large), class: "rounded-sm" %>
+  <div
+     style="height: 70vh;"
+     id="annotation-container"
+     data-annotation-canvas-target="canvas"
+   />
In our stimulus controller, we can pass the the annotation-container ID to Konva when we instantiate it:
// app/javascript/controllers/annotation_canvas_controller.js
import Konva from 'konva';

export default class extends Controller {
  static targets = ['canvas'];
  connect() {
    this.stage = new Konva.Stage({
      container: 'annotation-container',
      width: this.canvasTarget.clientWidth,
      height: this.canvasTarget.clientHeight,
    });
  }

  disconnect() {
    // clean up the canvas navigating away
    this.stage.destroy();
  }
}
see project at this point in history
Notice that we added the data-annotation-canvas-target="canvas" and declared static targets = ['canvas']; in our stimulus controller. By adding these lines to our two files, we are able to interact with the DOM element we just added to our form using this.canvasTarget. This also means that we can access the container’s clientWidth and clientHeight in order to dictate the width and height of our canvas.
The last thing we need in order to paint an image to the now-mounted <canvas> element is to create a Konva.Layer, Image and Konva.Image. The Konva.Image instance a URL value to load the image, so we’ll use Stimulus values in order to pass the URL from the server-side HTML to StimulusJS controller.
// app/javascript/controllers/annotation_canvas_controller.js
  ...
  static values = { imageUrl: String };

  connect() {
    this.stage = new Konva.Stage({
      container: 'annotation-container',
      width: this.canvasTarget.clientWidth,
      height: this.canvasTarget.clientHeight,
    });

    this.layer = new Konva.Layer();
    this.stage.add(this.layer);

    const currentImage = new Image();
    currentImage.onload = () => {
      this.image = new Konva.Image({
        x: 0,
        y: 0,
        image: currentImage,
        width: this.stage.width(),
        height: this.stage.height(),
      });

      // add the shape to the layer
      this.layer.add(this.image);
    };
    currentImage.src = this.imageUrlValue;
  }
# app/views/annotation_editor/raw_images/_form.html.erb
<div class="d-flex flex-column"
data-controller="annotation-canvas"
data-annotation-canvas-image-url-value=<%= url_for(raw_image.image) %>
id="annotation-controller">see project at this point in history
A quick note about the options we passed to the
Konva.Image. The coordinate system of the Canvas starts in the top-left corner of the canvas, with coordinates of (0,0), and increasing values get closer to the bottom right corner of the canvas.So when we create the
new Konva.Image, we’re telling Konva that we want the image to start in the top left corner of the canvas and cover the entire canvas, all the way to the bottom right corner.
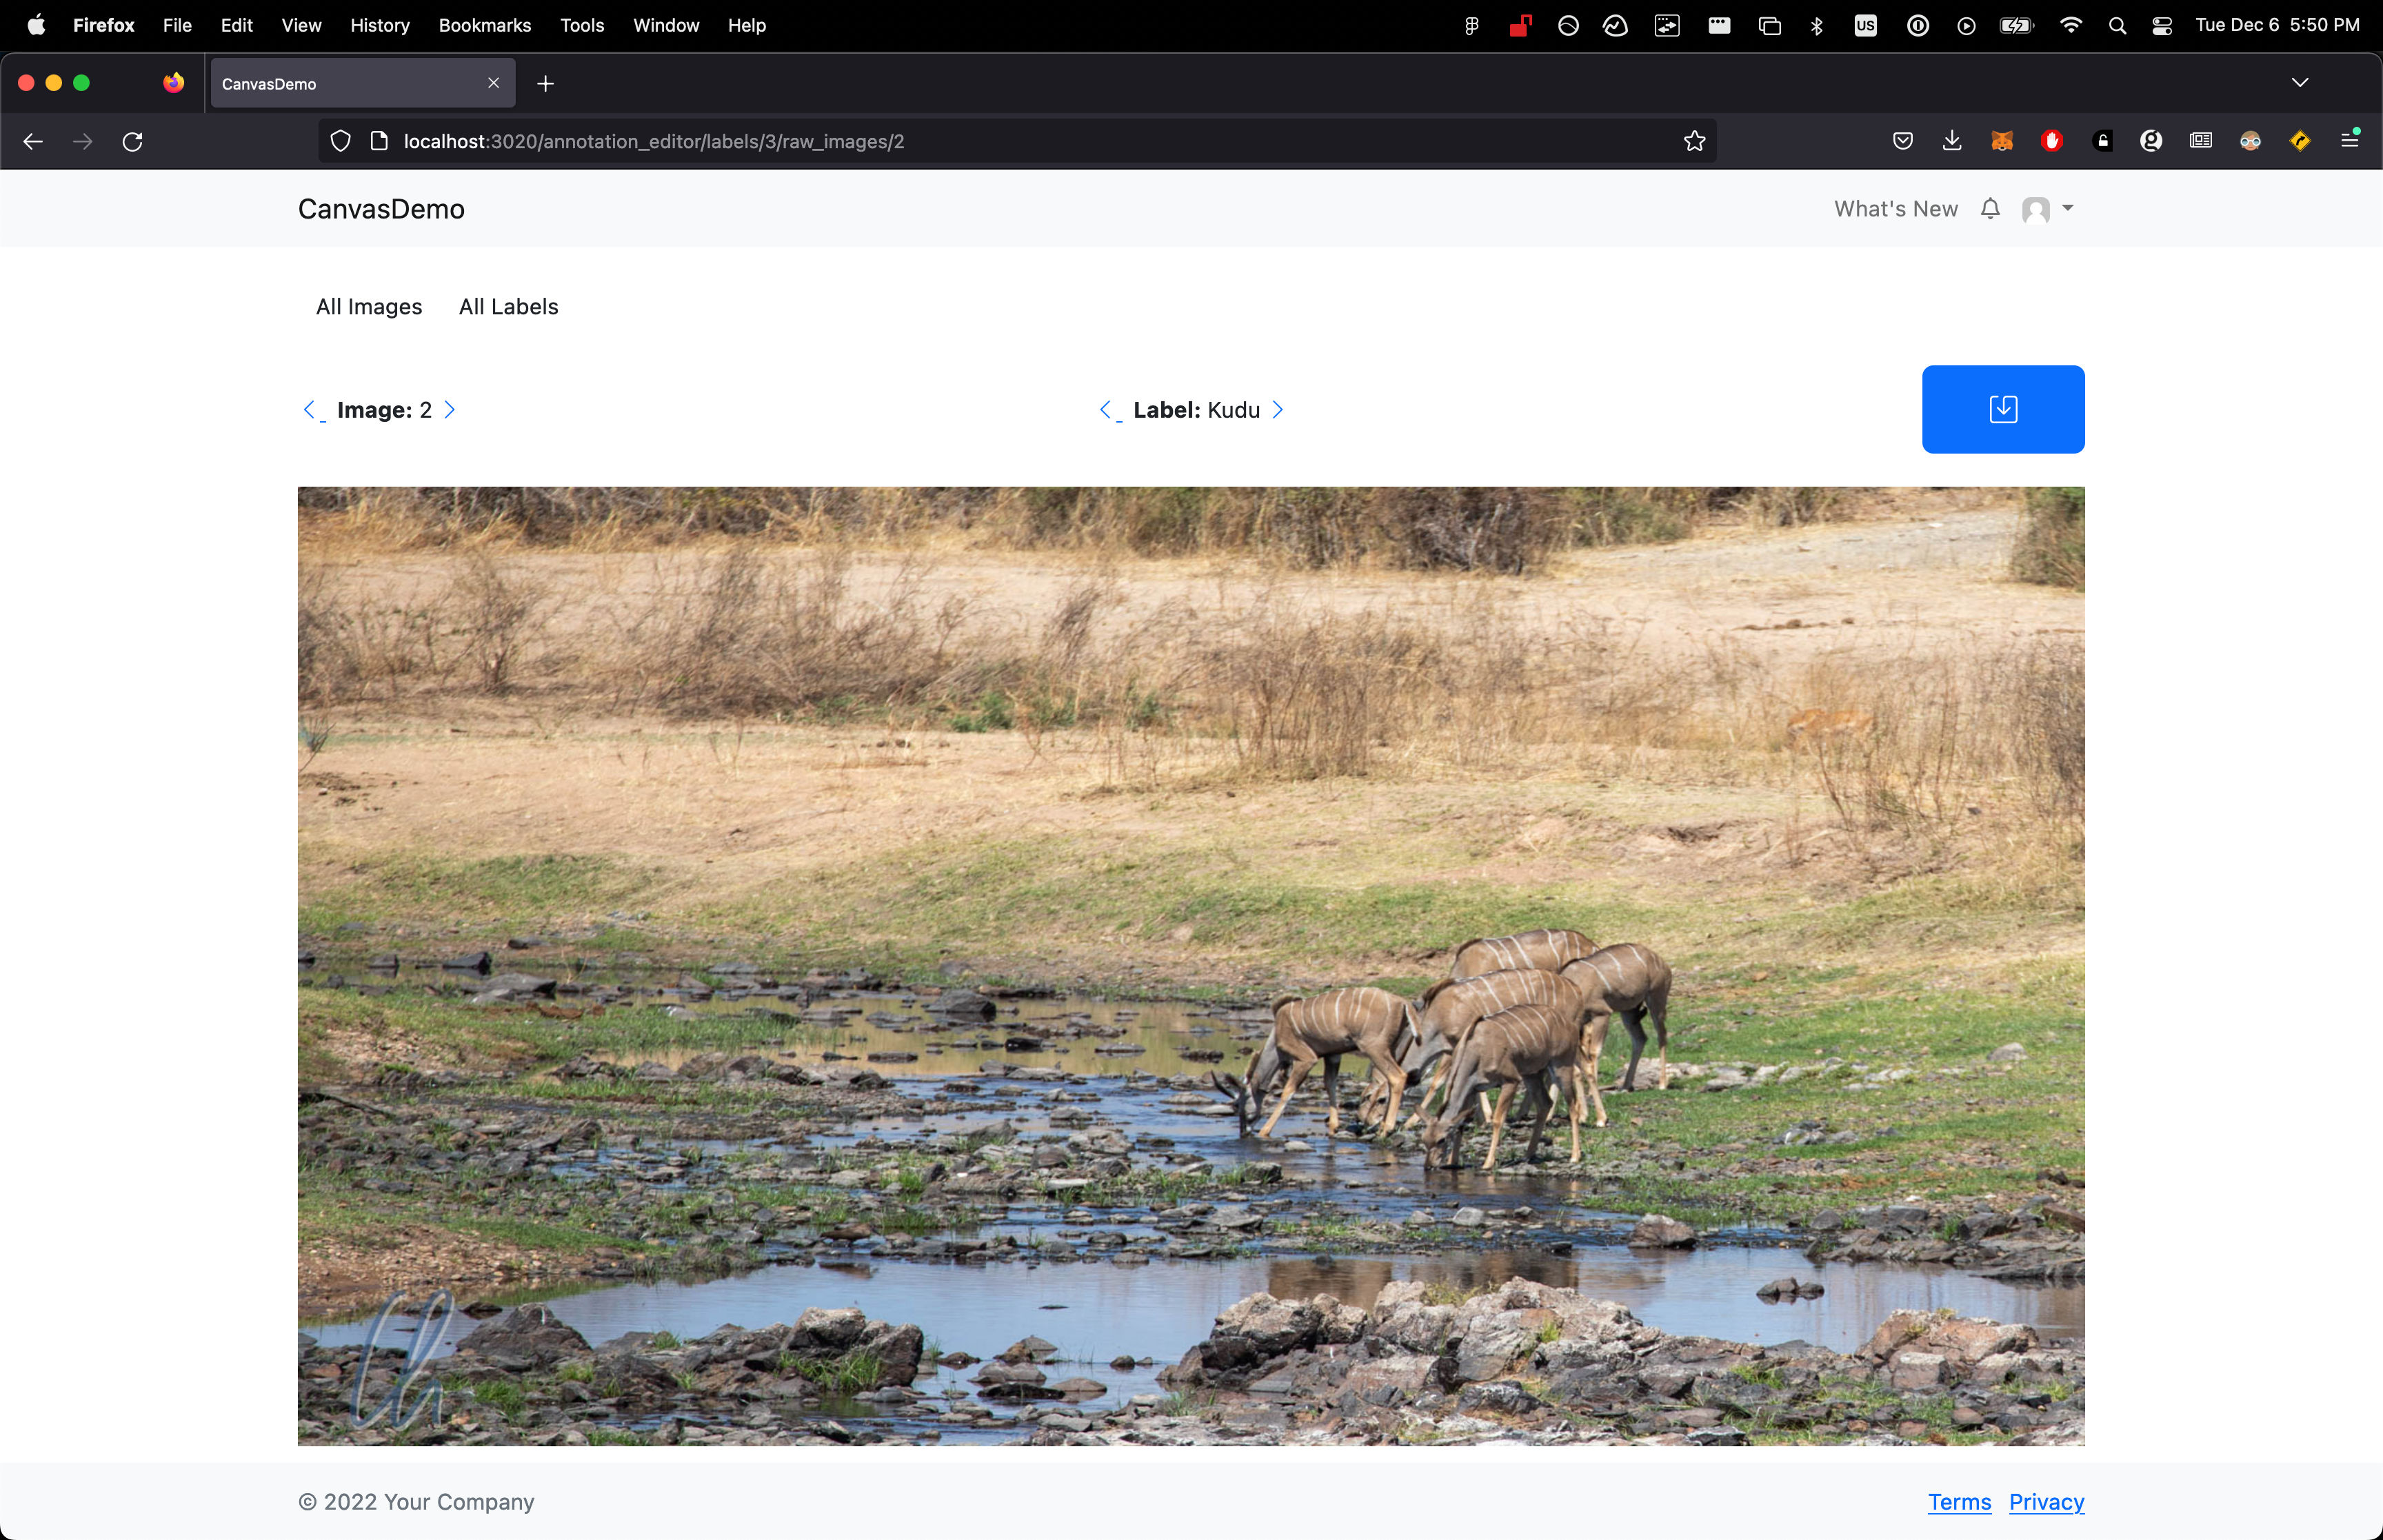
By this point, your site should look something like this:
Next post
In the next post of this series, we will start building the interactive aspects of our annotation app.